Editing Customers
To make changes to a customer, navigate to Contacts > Customers. From there, select the customer you'd like to edit from the list on the left, then press Edit customer in the footer of the right pane.
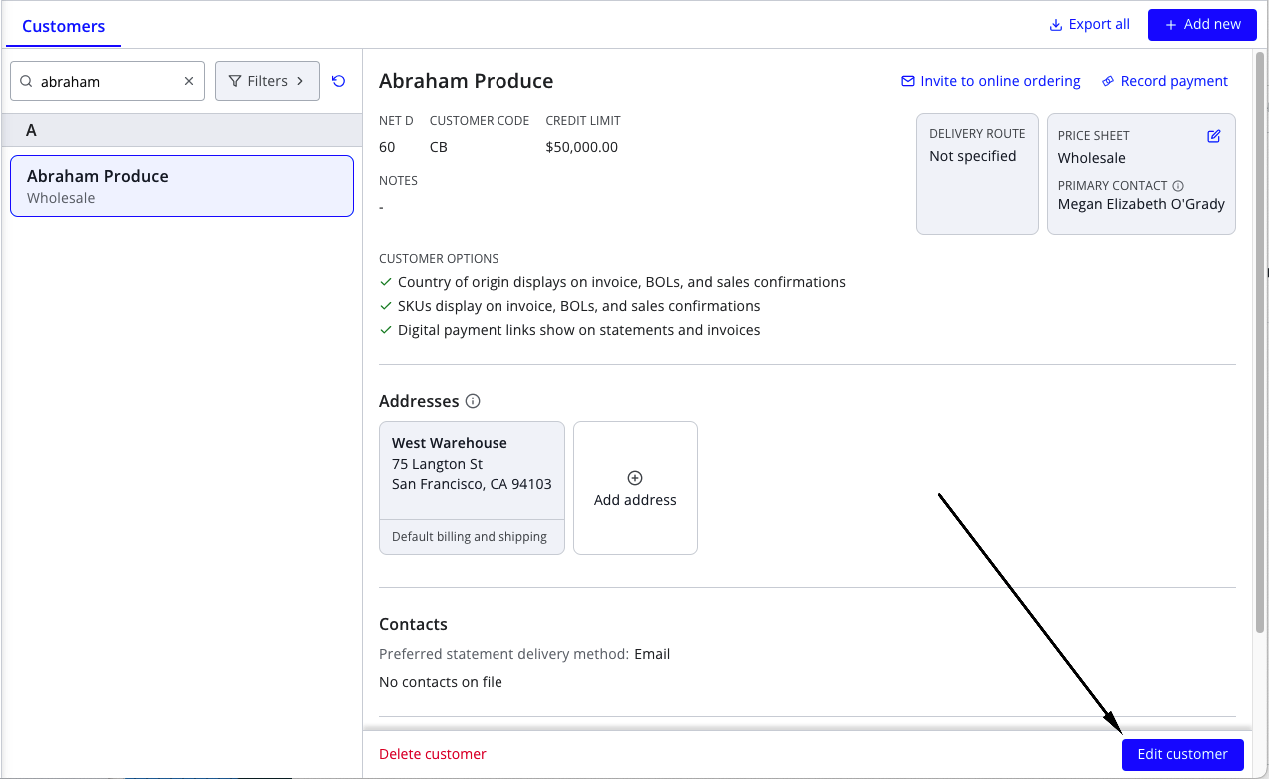
Once in edit mode, you'll have the option to adjust the customer's shipping information, billing information, net D, credit limit, customer code (if applicable), notes, and additional contacts. Be sure to press Save changes after you're done making edits.
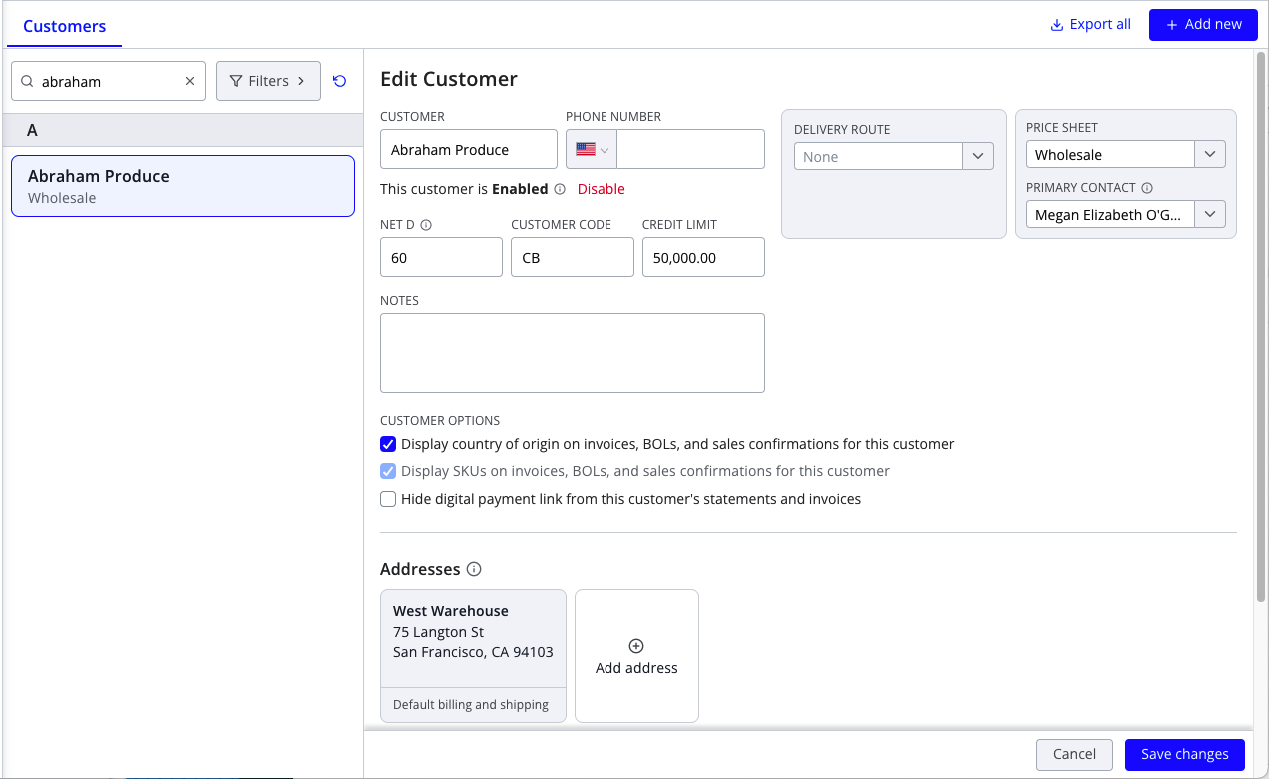
Note that when you change a customer's Net D, only invoices created after the change will reflect their new terms. Existing invoices will keep their original due dates unless you edit the requested date of these invoices.
Adding Contacts (required for emailing invoices & statements)
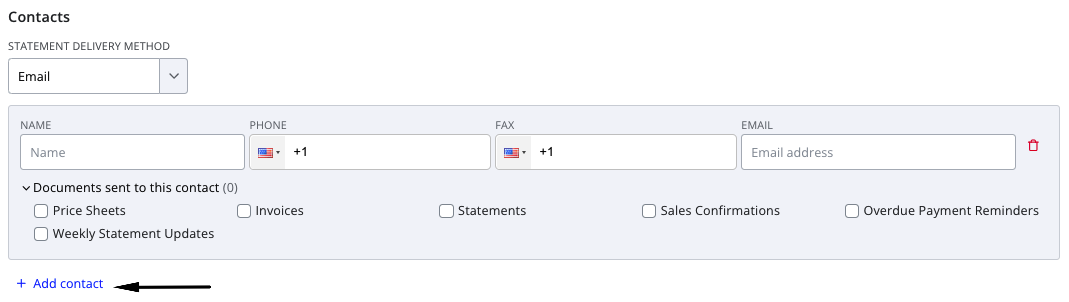
Once you are editing a customer, you can press Add contact at the bottom of the form. This will add a card where you can enter the contact's name, phone number, fax number, and email address, as well as select which types of email communications they should receive.
Adding Attachments
You can add attachments to a customer profile (like you can on SOs, POs, and expenses) in either view or edit mode.

The only difference from other areas of the platform is that you can also specify expiration dates for these attachments. If a customer has an expired attachment, users will see a warning when selecting that customer on a new sales order.

You can also filter for customers with attachments, without attachments, or with expired attachments in the Customers screen.

Deleting a Customer
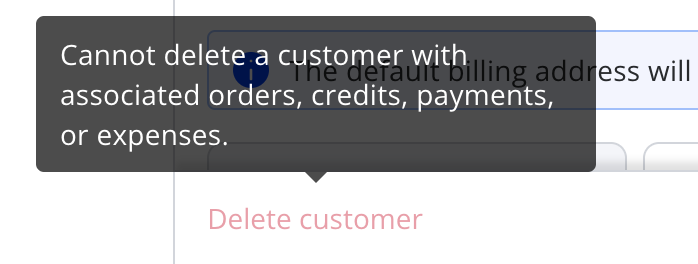
To delete a customer, select them from the list in the left pane. You should then see a Delete customer button appear in the footer of the right pane (to the left of the Edit customer button).
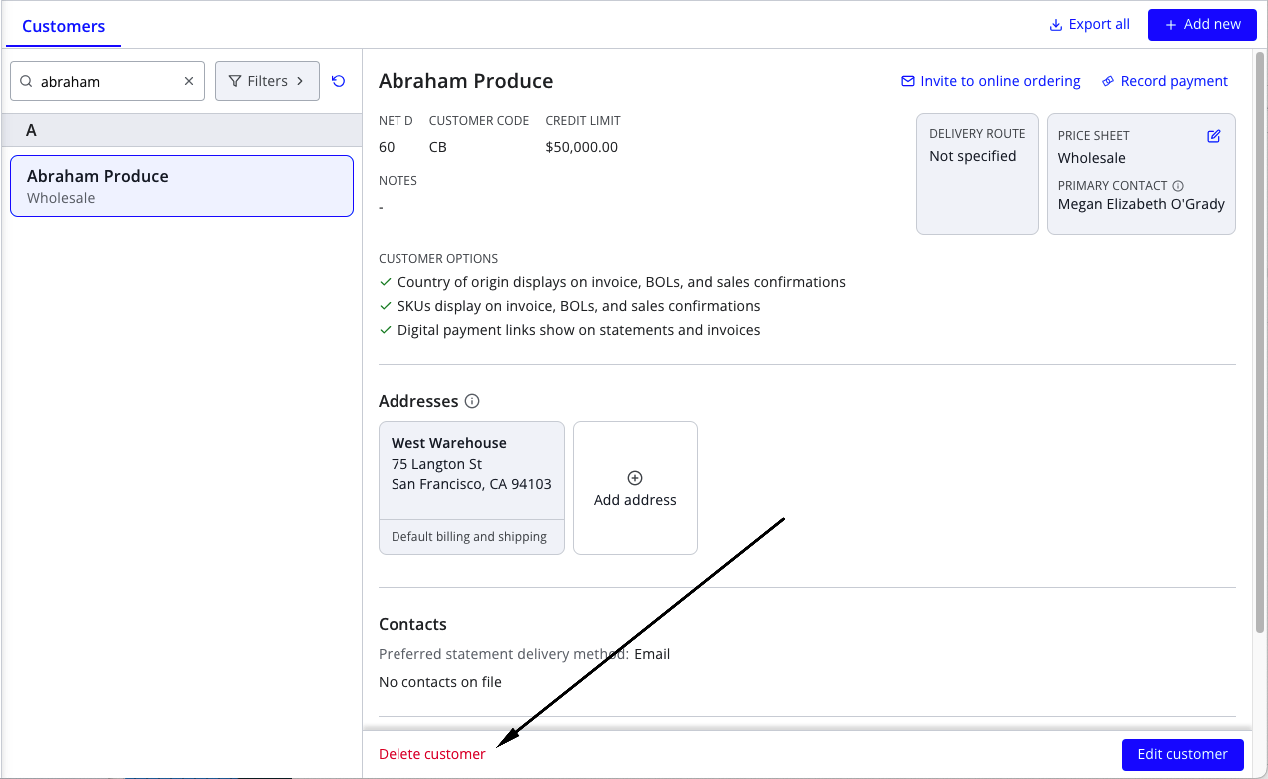
Note that this option is only available if the customer has no historical orders, credits, or payments. If they do have transaction history, the button will be disabled to prevent orphaning all of these transactions within Silo.
You have a few options if you no longer want to see this customer:
- Change the customer on the existing transactions. If this is not possible, you may need to reach out to Silo support.
- Disable the customer instead. This keeps them in Silo, but prevents users from creating orders for them going forward.
Disabling a Customer
Disabling a customer prevents them from being selected in ordering workflows. They will still be visible in accounting workflows and you can still receive payments from them. This is a good way to indicate that you are temporarily or permanently no longer doing business with a specific customer (for example, because of overdue payments, or because they've gone out of business).
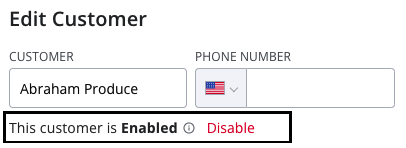
To disable a customer, first enter edit mode by pressing Edit customer in the footer of the right pane. Then, press the Disable link below the customer name and phone number.
After you press Save changes, you should see a Disabled chip appear next to the customer name in both the list and the detail view.
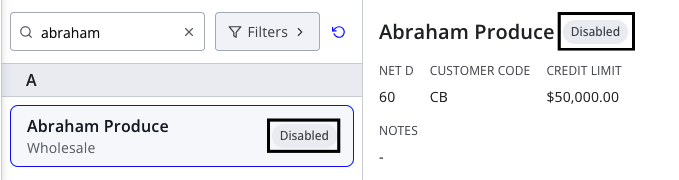
You are also able to filter for disabled customers if needed.
