Creating an Expense
To create an expense not connected to any other entity in Silo (also known as an independent or stand-alone expense), take the following steps:
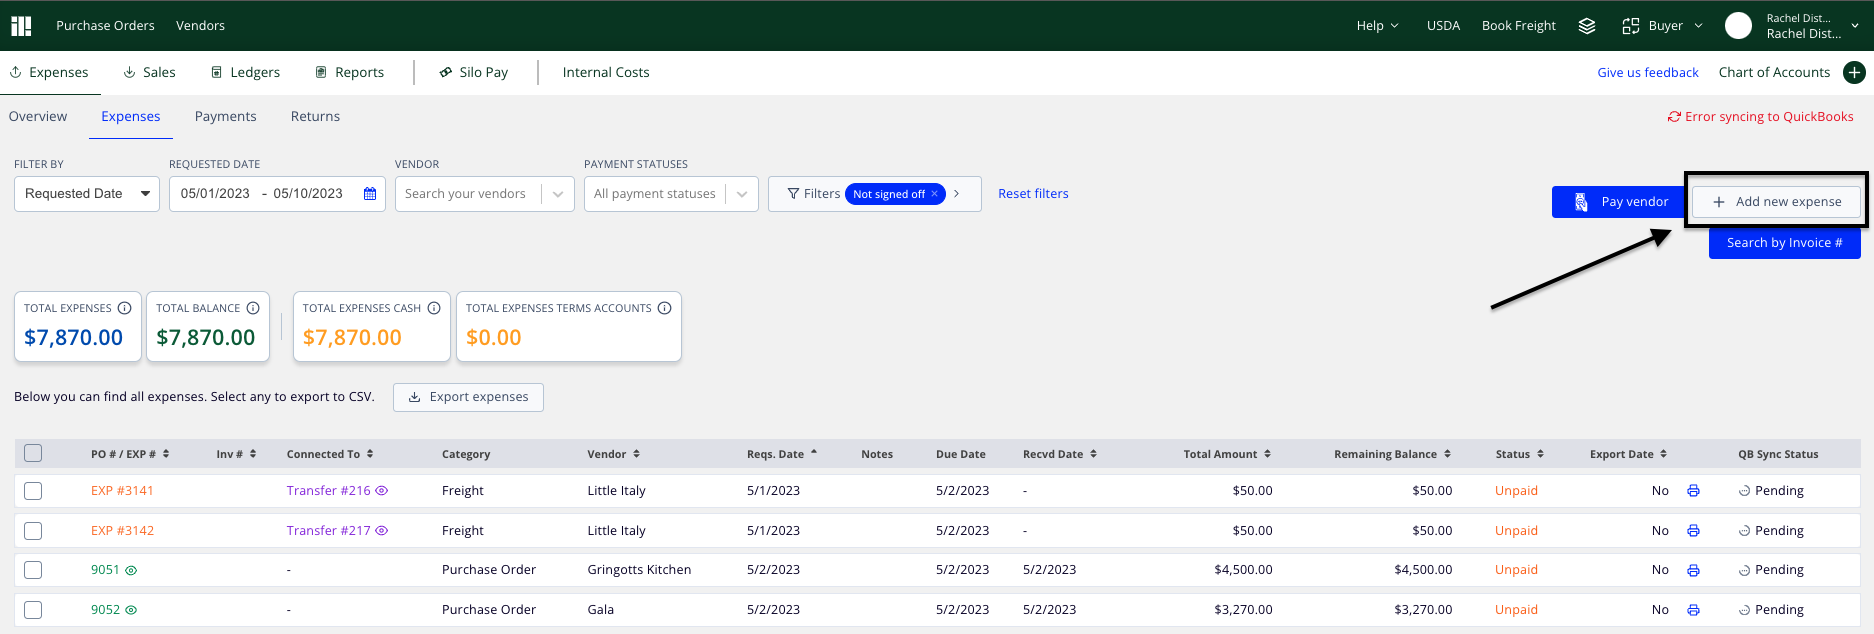
- Navigate to Finance > Expenses > Expenses or Finance > Internal Costs
- Press Add new expense on the top right of the screen
- If the expense is payable (i.e., you want to track the vendor and payment status in Silo), make sure the Is it a payable? checkbox is selected
- Enter any other relevant information (amount, vendor, invoice #, optional notes)
- Press Add new expense in the bottom right of the panel
Editing an Expense
To edit an expense:
- Navigate to either Finance > Expenses > Expenses (to edit a payable expense) or Finance > Internal Costs (to edit a non-payable expense)
- Adjust the filters or search as needed to locate the expense you wish to edit
- Press the EXP # hyperlink to open the Expense Details window
- Press Edit expense in the bottom right corner
- Edit any desired fields and press Save changes when you're done
Note that you can still edit expenses after payments are applied, as long as the new total is greater than or equal to the amount of payments applied. If you need to decrease the total below the paid amount, you must unapply a payment first—see How to Undo a Vendor Payment for more information.
Connecting an Expense
To connect an expense to an order, lot, or transfer:
- Navigate to either Finance > Expenses > Expenses (for payable expenses) or Finance > Internal Costs (for non-payable expenses)
- Adjust the filters or search as needed to locate the expense you wish to connect
- Press the EXP # hyperlink to open the Expense Details window
- If the expense is already connected, press the Connect additional [transactions] button to connect it to something else. If the expense has no connections yet, press either the SOs, POs, Lots, or Transfers button, depending on which type of transaction you'd like to connect to.
- Search using one of the available identifiers
- When you locate the desired transaction, press the Connect button on the right side of the row