How to Add an Expense to a Purchase Order
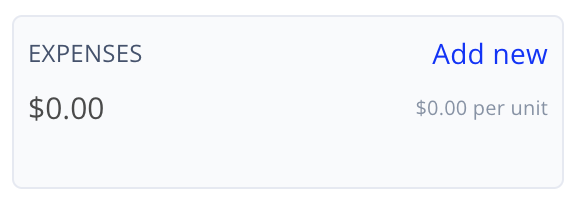
- While creating a new order or viewing an existing one, press Add new in the Expenses box in the order header. This will open the expense panel and begin the expense creation flow.
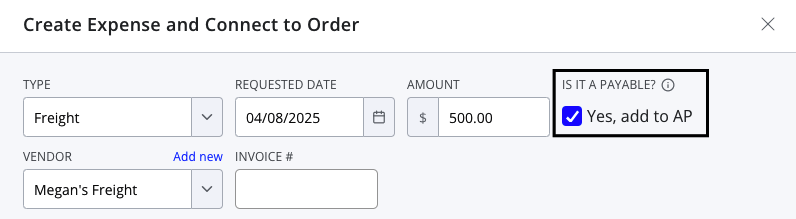
- Complete each of the required fields.
- Type: This category will ensure this expense is filled into the correct area in your Chart of Accounts, accessible through your Accounting screen if enabled.
- Vendor: Only vendors marked as "Services / Expenses" vendors will appear in this dropdown. Users can mark vendors as service vendors from the Vendors screen. Note that this field is only required if the "Yes, add to AP" checkbox is selected.
- Amount: Enter the total amount of the expense. You may wish to distribute this expense across several entities, but this total amount must always be entered to submit.
- Review the following pre-populated fields and adjust if needed:
- Requested date: This is the date on which the expense will appear in the Accounting screens.
- When adding an expense to a new or existing unreceived order, it defaults to the order's requested date.
- When adding an expense to an existing received order, it defaults to the order's received date.
- 'Yes, add to AP' checkbox: This field determines where this expense affects your AP and Silo Accounting. If the checkbox is not selected, the expense will only appear in the Finance > Internal Costs screen. Note that regardless of your selection, the expense will still impact the break-even price of all associated lots and be factored into profitability and performance calculations.
- Requested date: This is the date on which the expense will appear in the Accounting screens.
Expense Distribution
Users have the option to auto-distribute the expense among the connected PO items either by unit or by pallet. After an expense is created, the distribution can always be edited. See the PO Expense Distribution article for more information and examples of how these distribution methods work.
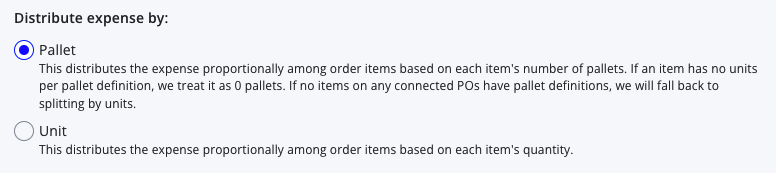
- By Unit: will divide the total expense amount by the total quantity of units on all connected purchase orders. This means that the expense will add the same dollar amount to the break-even of each item.
- By Pallet: will divide the expense amount by the total quantity of pallets for all items on connected purchased orders. For this to function properly, users must ensure that all inventory items have a Units per Pallet count entered in the Warehouse > Inventory > Pallet Definitions screen or specified on the PO; if no items on the purchase order have a pallet definition, expenses will default back to distributing by unit.
How to Edit Expenses on a Purchase Order
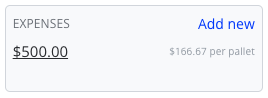
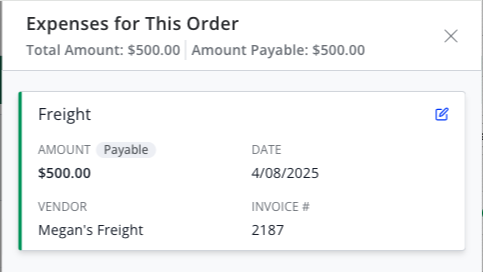
After creating an expense, it can be edited by clicking on the dollar value in the Expenses box in the order header.
A drawer will open that displays a summary card for each expense connected to the purchase order (or to entities associated with the purchase order, like lots or transfers). Click the pen and paper icon on the expense card to edit it.
Connecting Expenses to Multiple Purchase Orders
Once an expense has been created, it can be connected to other purchase orders. There are two main places where you can connect an existing expense to another purchase order.
- Purchase Orders screen
- Finance > Expenses > Expenses screen
Purchase Order screen workflow
- Locate and open the purchase order you wish to attach the expense.
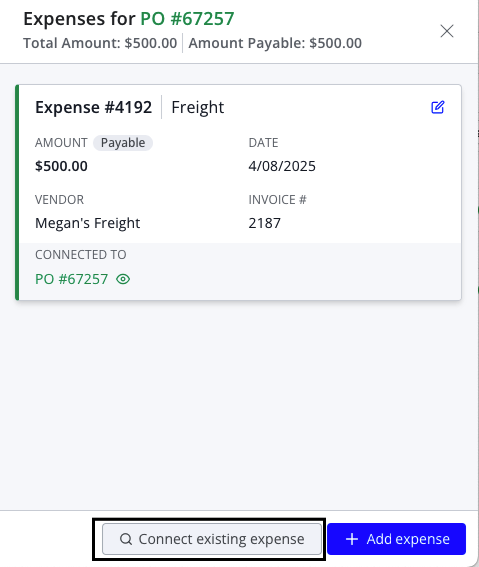
- Click the dollar value in the Expenses box in the header. If no expenses are currently attached, the dollar value will read $0.00.
- A panel will open showing expenses already connected to this purchase order. Press the Connect existing expense button.
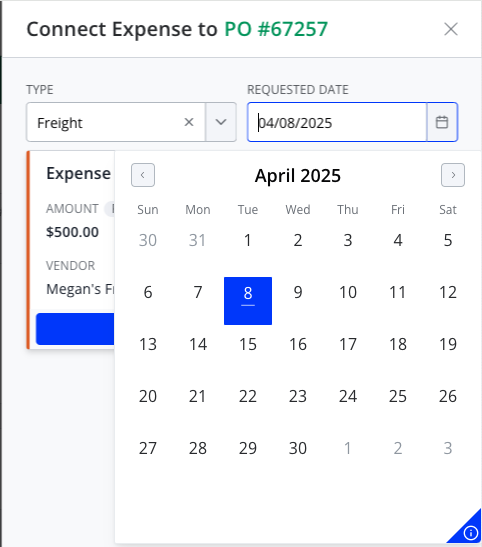
- A search screen will appear that displays all PO and stand-alone expenses matching the selected category and date.
- Use the Type filter to select the type of expense you are looking for.
- Use the Requested Date filter to narrow your search by selecting the requested date of your desired expense. Dates with expenses matching your selected category will be underlined.
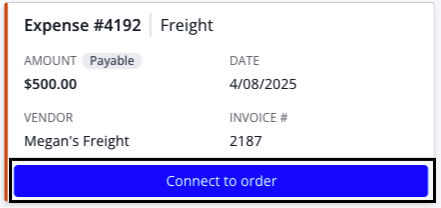
- Click the Connect to order button to connect an expense to your purchase order.
Expenses screen workflow
- Navigate to Finance > Expenses > Expenses.
- Use filters to find the expense you wish to connect.
- Press the expense number to open the Expense Details modal and click the Connect additional POs button.
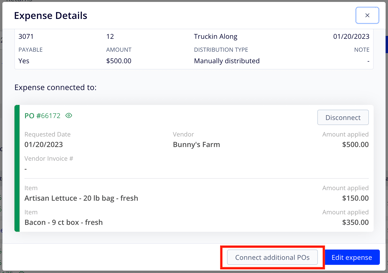
- Search for the purchase order you want to connect by selecting the identifier to search on and entering the associated number in the box to the right.

- Find the purchase order in the search results at the bottom of the window and click the Connect button. Once successfully connected to your expense, the button will deactivate and update to say Added.

Expenses vs. Non-Inventory Items
Many things that can be added as expenses connected to a purchase order can also be added directly to the PO as non-inventory items. The main differences between the two are:
- Since non-inventory items are directly on the PO, they only make sense to use when they're coming from the same vendor as items on the PO. If they're from a separate vendor, it probably makes more sense to use an expense.
- Non-inventory items do not impact lot performance calculations, whereas expenses factor into the break-even price of all lots they're associated with and thus affect profitability calculations. If you want the cost factored into your profit calculations, you should use an expense.
For more information about non-inventory items, see the following article: