Silo allows you to attach files to purchase orders, sales orders, and expenses. The basic functionality is the same in all three places:
- Open an existing order or expense. You should see an Attachments section near the bottom of the screen.
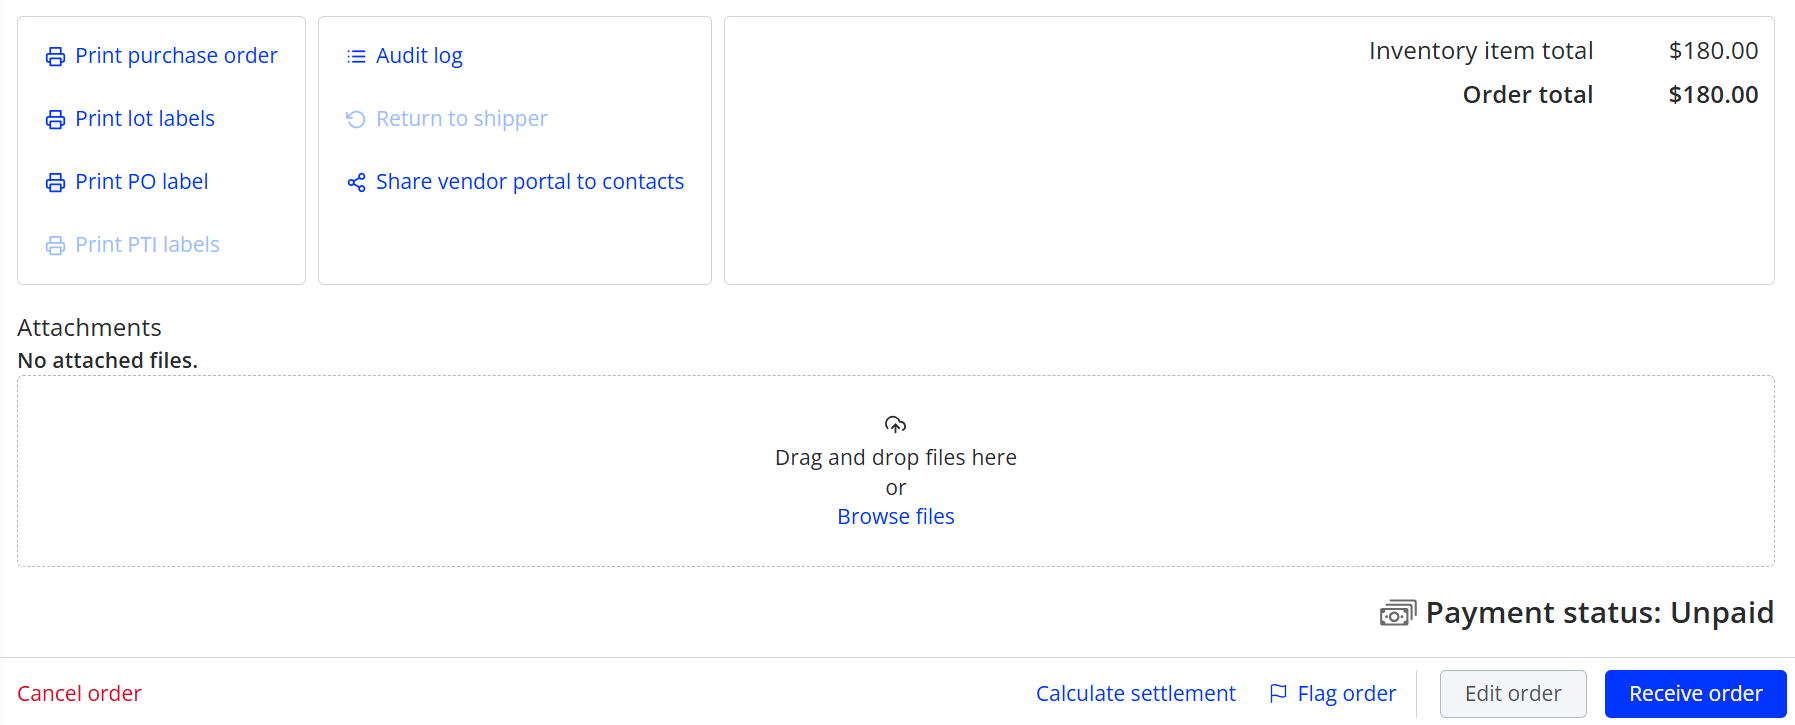
- Drag and drop a file into the box, or press Browse files to select one using file explorer.
- You should now see your attached file appear. It may take a few seconds to finish uploading, depending on the file size, so make sure not to leave the screen until the upload is complete.

You can attach any .txt, .doc, .docx, .pdf, .csv, .xls, or .xlsx file up to 8 mb. File names will be trimmed to 254 characters. You can attach up to 50 files to each order or expense.
Once a file is attached, you can click the thumbnail icon to see a preview of it (if it's an image) or download it (if it's any other file type). You can click the name to make edits. You can also delete the file by pressing the trashcan icon.
On expenses and SOs, the ability to add and edit attachments is controlled by the same permissions that controls other edits—Edit expenses for expenses and Edit sales orders before they are fulfilled, Edit sales orders after they are fulfilled, Edit sales orders after payments have been applied, Edit cash sales orders, and/or Edit terms sales orders after cutoff time for SOs (depending on the current status of the order and the customer it's for).
On POs, attachments are controlled by their own permission: Edit attachment files on a purchase order.
One other difference for PO attachments is that you have the option to share them to vendor portal. This means they will be visible to your vendor if you share a vendor portal link with them when emailing the PO.

For more information about sharing attachments via vendor portal, see the following article: